How to Launch Your Independent Lash Business in 30 Days
Most lash artists spend months planning to launch their independent business. They research logos, agonize over brand colors, compare ten different booking platforms, and never actually open for bookings. Meanwhile, someone who started last Tuesday already has three clients on the books.
If you want to launch your lash business, you need a deadline and a plan — not perfection. This 30-day launch plan breaks the work into four weekly sprints so you go from “thinking about it” to “fully booked” in a single month.
Why Weekly Sprints Beat Endless Planning
A lash business plan does not need to be a 40-page document. It needs decisions, executed in order.
Weekly sprints work because they force you to finish one category of decisions before moving to the next. You cannot tweak your pricing forever if you know that next week’s job is getting visible. The deadline kills overthinking.
Each sprint below has a clear output. By the end of the week, something tangible exists that did not exist before. That is the only measure that matters when you start a lash business — did something real get done?
Week 1: Lock Your Foundations
Goal: Every operational decision is made. Your booking system is configured and ready to accept appointments — even if nobody knows about it yet.
Here is exactly what to finalize:
Service menu. List every service you will offer at launch. Classic full sets, hybrid fills, volume mega — whatever you do. Do not list services you have not practiced enough to deliver consistently. You can always add more later. Three to five services is plenty for a launch menu.
Durations. Assign a realistic appointment length to each service. Pad by 15 minutes if you are unsure. Under-timing appointments is one of the fastest ways to burn out and run late, which kills rebooking.
Pricing floor. Set your minimum price for each service using the actual formula, not gut feel. Research what other solo lash artists charge in your area, then price based on your skill level and costs — not on what feels “nice.” Your pricing floor is the number below which you lose money or resent the work. Do not go below it for anyone.
Booking rules. Decide on your deposit policy, cancellation window, and late-arrival policy before you take a single booking. Write them down in plain language. These are not suggestions — they are the operating rules of your business. A 50% deposit and a 24-hour cancellation window with forfeited deposit is a solid starting point.
Intake flow. Build your new-client intake form. Collect contact info, allergy history, lash history, and a photo of their current lashes. Set this up inside your booking platform so it is automatic — clients fill it out when they book, not when they arrive.
Before you open the calendar, run through the lash booking setup checklist once. It catches the missing service menu, policy, intake, prep, aftercare, notes, and rebooking decisions that usually show up as DM chaos later.
Configure all of this inside your booking system. If you do not have one yet, LashDesk is built specifically for independent lash artists and handles menu setup, deposits, intake forms, and automated reminders out of the box.
Week 1 output: A fully configured booking system that could accept a client right now.
Week 2: Go Visible
Goal: Your booking link is live and reachable from every place a potential client might find you.
This week is about distribution, not content creation. You do not need 30 Instagram posts. You need your booking link in the right places.
Instagram bio. Replace whatever is in your bio link with your direct booking URL. Not a Linktree with eight options — your booking page. One link, one action.
Instagram highlights. Create a “Book” highlight with a story that shows your booking link, your services, and your pricing. Pin it as the first highlight. Create a “Policy” highlight with your deposit and cancellation rules. Clients who read these before booking are better clients.
Pinned text shortcuts. Set up a text shortcut on your phone so when you type something like “bklink” it auto-expands to your full booking URL. You will paste this dozens of times a week in DMs, comments, and texts. Save yourself the effort.
Google Business Profile. If you have a studio location (even a home studio), set up a Google Business Profile. Add your booking link as the website. This catches people searching “lash artist near me” in your area.
Website or landing page. If you have a website, put the booking link above the fold. If you do not have a website, do not build one this week — your Instagram and Google profile are enough for launch. A website can come in month two.
Tell your network. Send a direct message to 20 people you know personally. Not a mass broadcast — individual messages. “Hey, I just launched my independent lash business. Here is my booking link if you or anyone you know is looking.” That is it. No hard sell.
Week 2 output: Your booking link is accessible from at least three public places, and 20 people in your personal network know you are open for business.
Week 3: Build the Rebooking Loop
Goal: Every client who sits in your chair is asked to book their next appointment before they leave, and your systems support that habit.
Client acquisition is expensive — in time, effort, and money. Rebooking is nearly free. A lash business that rebooks 60% or more of its clients at checkout grows without needing a constant stream of new inquiries.
Message scripts. Write three short scripts and save them as templates in your booking platform or phone:
- Post-appointment follow-up (sent same day): “Thanks for coming in today! Your lashes look great. Your next fill is due around [date]. Want me to hold your usual time?”
- Rebooking nudge (sent 2 weeks post-appointment if they have not rebooked): “Hey [name], just a heads up — my [preferred day] slots for the next two weeks are filling up. Want me to save one for you?”
- Reminder confirmation (sent 48 hours before appointment): “Quick reminder — your appointment is on [date] at [time]. See you then!”
Automated reminders. Turn on automated appointment reminders in your booking system. A 48-hour and a 2-hour reminder via text or email cuts no-shows dramatically. If your platform supports it, enable the reminder that asks clients to confirm.
Ask at checkout. This is the most important habit to build. When the appointment ends, say: “Your fills will be due in about three weeks. Want to go ahead and book that now so you get your preferred time?” Say it every time. It becomes natural after a few days.
Week 3 output: You have saved message templates, automated reminders are active, and you are asking every client to prebook at checkout.
Week 4: Review and Tighten
Goal: Look at real data from your first few weeks and fix the one thing that needs it most.
By now, you have had some bookings (or at least some inquiries). This week is about reviewing what actually happened — not what you hoped would happen.
Check your best-booked services. Which services are getting booked the most? Which ones have zero bookings? If a service has not been booked in three weeks, either your description is unclear, the price is off, or nobody wants it. Consider removing it from the menu to simplify.
Look at late-cancel and no-show patterns. If you have already had a late cancel or no-show, examine why. Did the client not see the reminder? Was the deposit not enforced? Fix the gap now before it becomes a pattern. A 5% or lower no-show rate is the target.
Check your refill cadence. Are clients coming back when expected, or are they stretching longer than the recommended fill window? If they are waiting too long, your rebooking scripts may need adjusting, or you may need to explain fill timing more clearly during the appointment.
Fix one weak point. Do not try to overhaul everything. Pick the single weakest link — maybe it is that you are not collecting deposits, or your intake form is missing allergy questions, or your Instagram bio still has a dead link — and fix that one thing properly.
Week 4 output: You have reviewed your real numbers, identified the weakest point in your business, and fixed it.
How to Keep Momentum After Day 30
Launching is not the hard part. Sustaining is. Here is how to keep moving after your initial 30-day sprint:
Set a monthly review date. Pick one day per month — the first Monday, the last Friday, whatever works — and review your numbers. Bookings, revenue, rebooking rate, no-shows. Fifteen minutes with a spreadsheet or your booking platform’s dashboard.
Add one thing per month. Month two might be a website. Month three might be a referral incentive. Month four might be a new service. Do not add everything at once. One improvement per month compounds fast.
Raise prices on a schedule. Every three to six months, evaluate whether your prices reflect your current skill level, demand, and costs. If you are booked out three weeks in advance, your prices are too low.
Invest in retention over acquisition. It is always cheaper to keep a client than to find a new one. Focus your energy on the rebooking loop, the client experience, and consistency.
Action Steps
- Block four hours this weekend to complete Week 1. Set your service menu, durations, pricing, booking rules, and intake form inside your booking platform.
- Download our free Starter Kit — it includes pricing worksheets, policy templates, and intake form examples built for independent lash artists.
- Set calendar reminders for the start of each weekly sprint so you stay on track.
- Sign up for LashDesk if you need a booking platform designed specifically for solo lash artists. It handles deposits, reminders, intake forms, and rebooking — the core systems this 30-day plan runs on.
Stop planning. Start launching. Thirty days is enough.
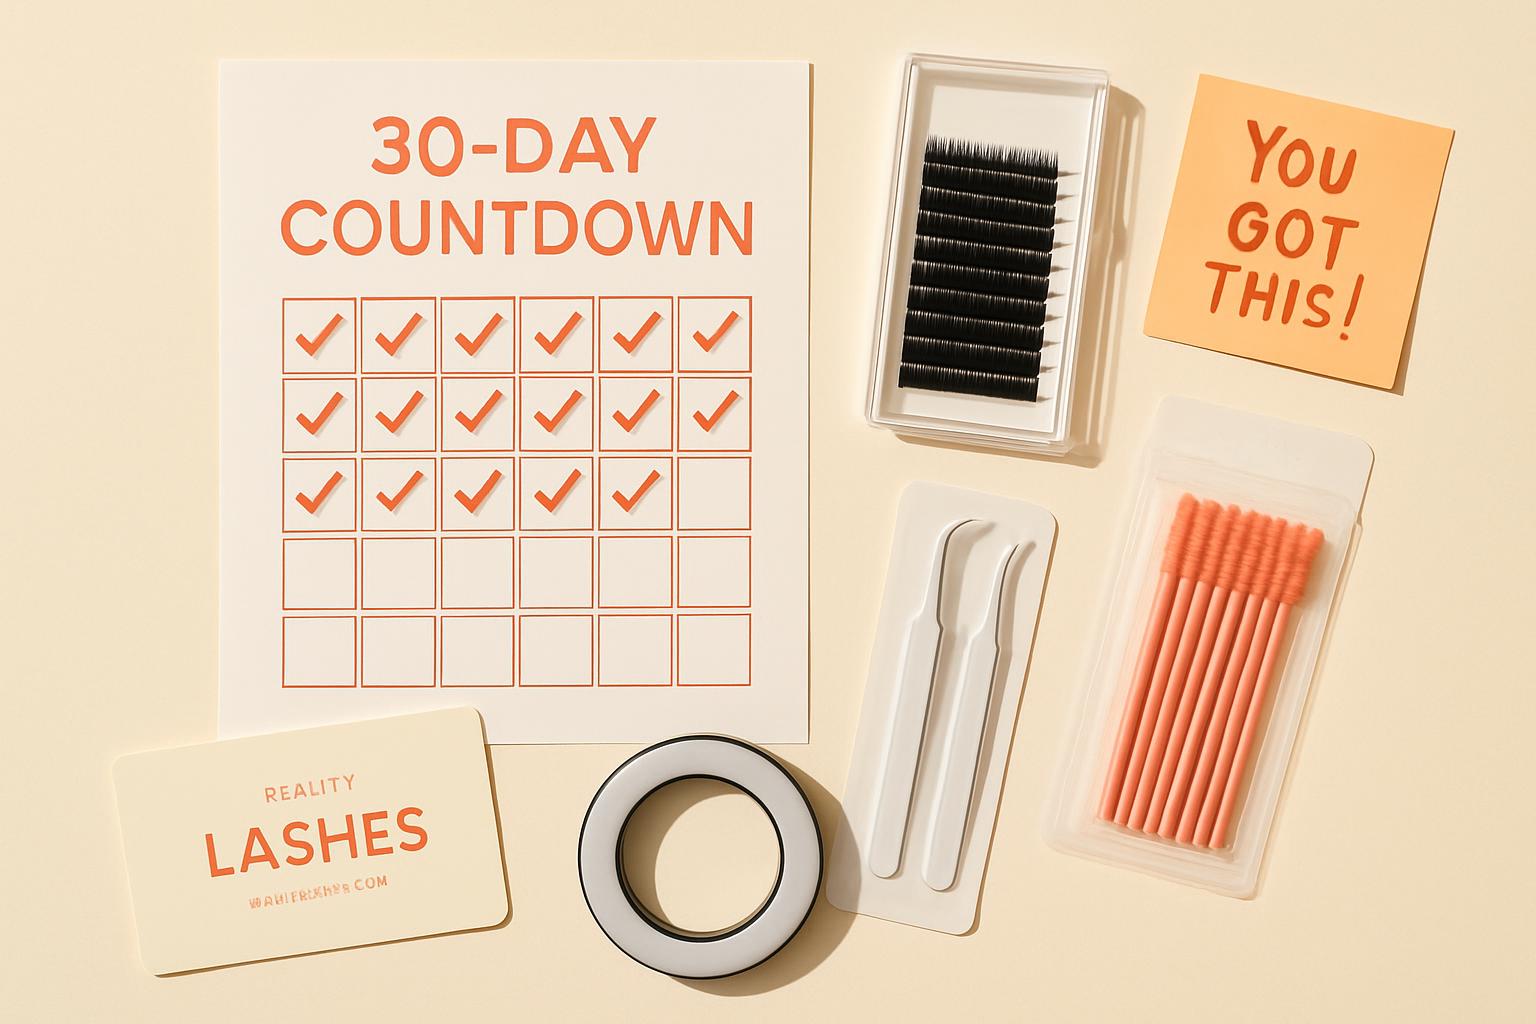
Try the Free 30-Day Launch Tracker
Put this into practice right now. Our free 30-day launch tracker walks you through everything covered in this post — no sign-up required.
Get the Full Starter Kit
All seven tools plus pricing formulas, policy templates, client scripts, and a 30-day launch plan — delivered to your inbox as one download.